MultiPacker Graph
Creating a New MultiPacker Graph
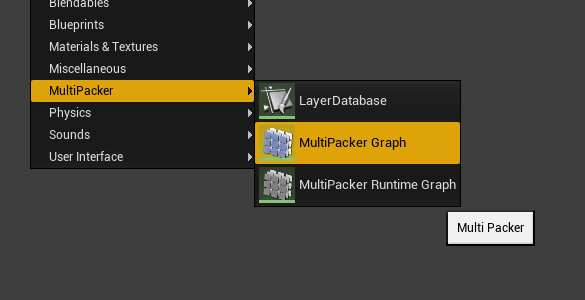
- Navigating to your Content Browser, click Add New and go to the MultiPacker category.
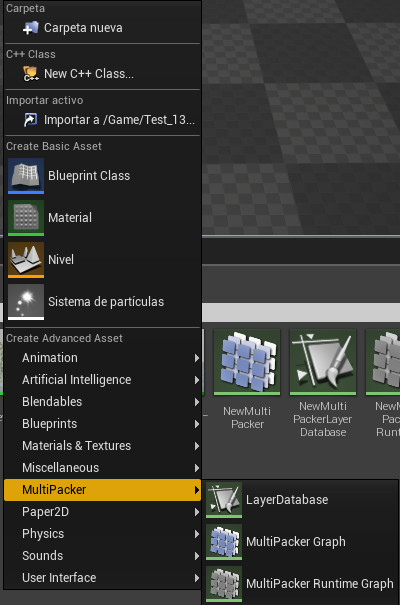
- Select MultiPacker Graph.
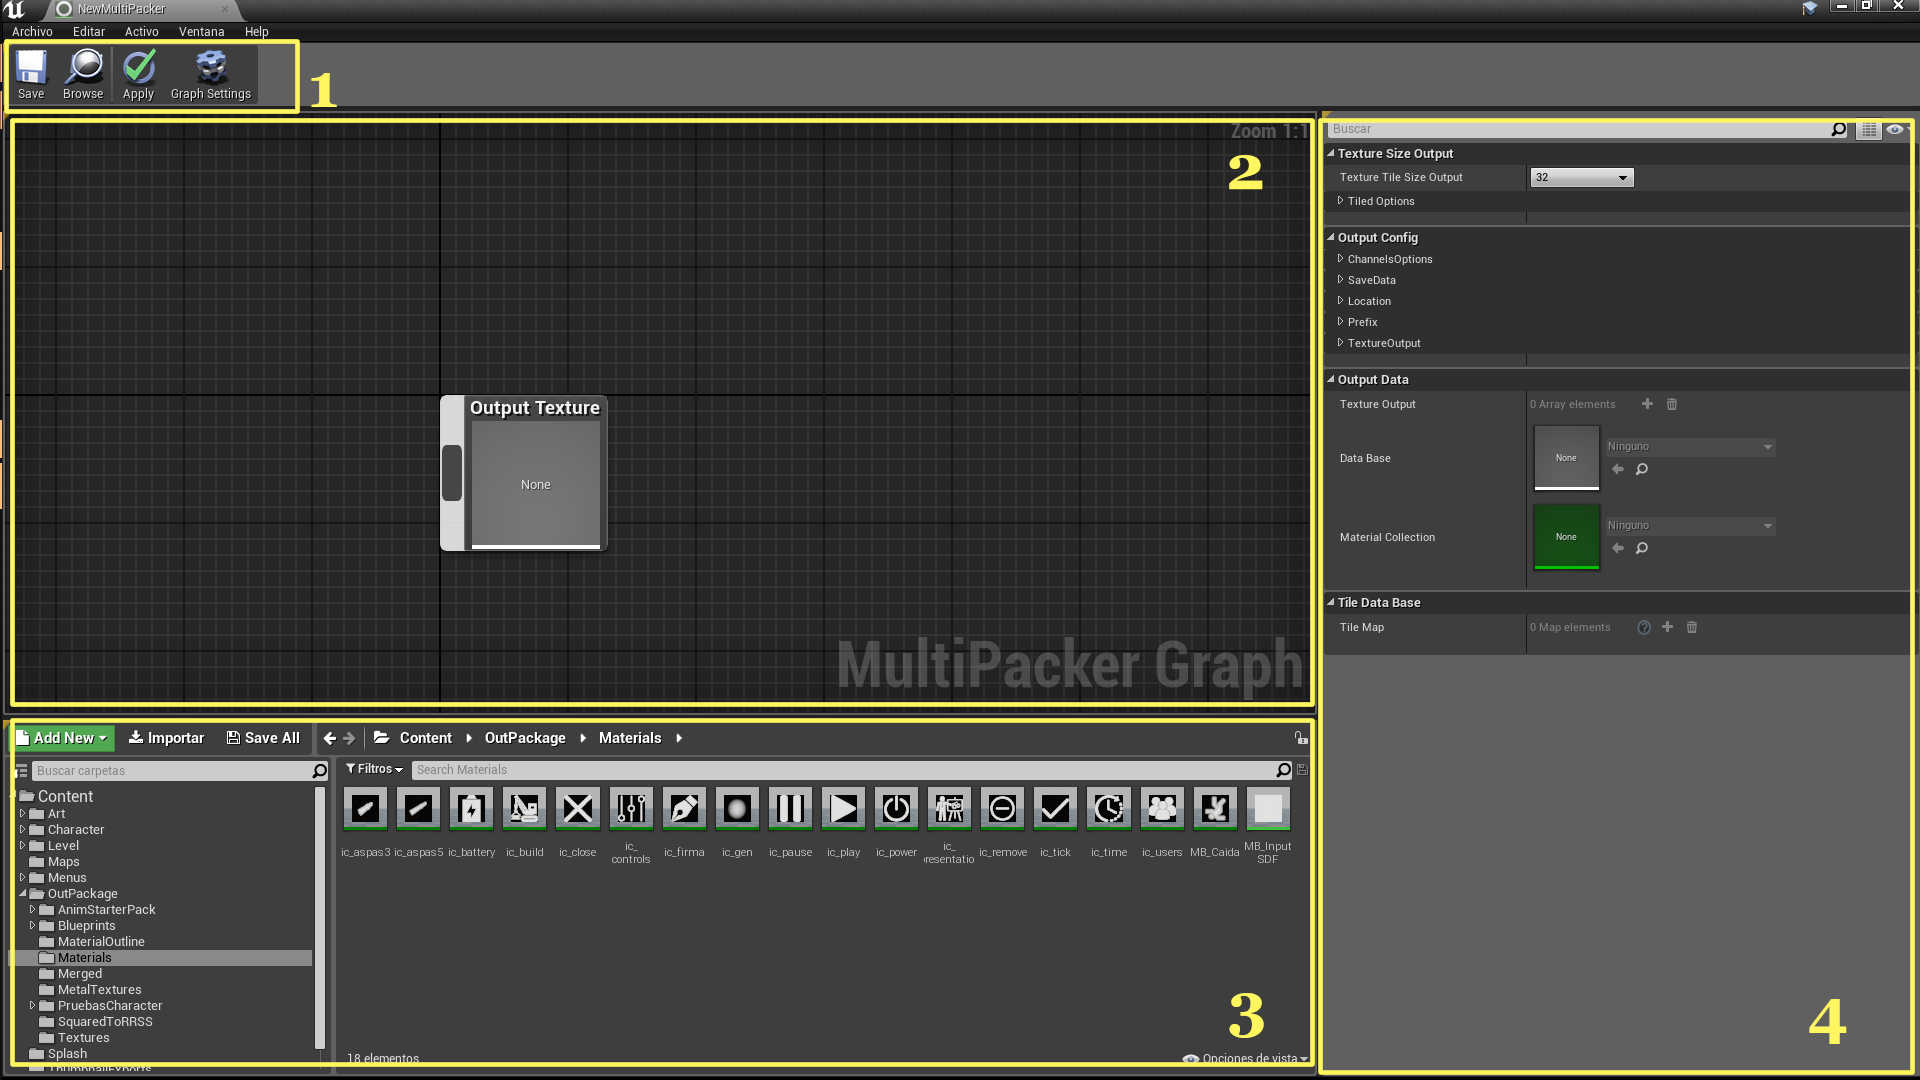
Editor Layout
The MultiPacker Graph looks and works like the Material Graph but with have some little differences.
-
Toolbar Menu
An explanation of the different buttons:
1.1. “Save” this saves the Graph
1.2. “Browse” Show on the Content Browser where is the MultiPacker Graph Asset.
1.3. “Apply” Process the Graph and update the Texture(s).
1.4. “Graph settings” show on the Details Panel the propertys of the graph.
-
Graph Nodes
Here you will have the Textures and Material Nodes to Process then and Make the Output Texture.
Texture Nodes have 6 pins to select manually the Channel where you like to extract the Texture Information, also on the Details Panel for the Texture Node you can set the PinOutput.
-
Content Browser
This is like a normal Content Browser from the Editor, you can drag and drop Textures and Materials to the Graph, You can drop a Selection at the same time.
-
Details Panel
On this Panel all the Information related to the Graph and the Nodes will show up, here you can change all the options.
Output Options
The MultiPacker Graph has a lot of options to process the Output Assets and all the functions involved on the process to get the Output.
I will explain all of these by the Category and Subcategory
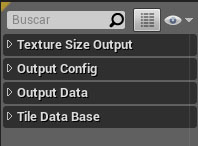
Texture Size Output
On this Category you can select the Size for every individual Tile for the Default option, or if you enable Rectangle Tiles on the subcategory Tiled Options you can set the method of your choice to set the Tiles and set the Output Size X and Y.
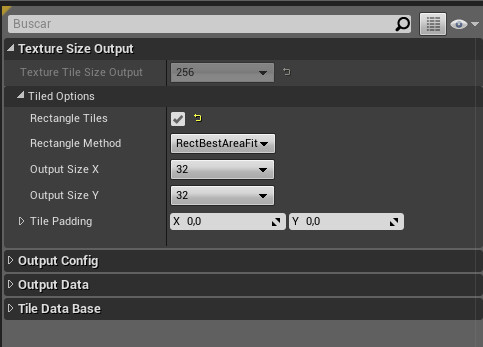
- Texture Tile Size Output: Size for every Tile who will be saved on the Output Texture, The Size for the Output Texture is calculated by the numbers of Tiles and the user cant select it.
Tiled Options
-
Rectangle Tiles: This enables the Bin packing method, every Tile can have a different size and will be setted on the Output Texture by the method of BinPacking Selected.
-
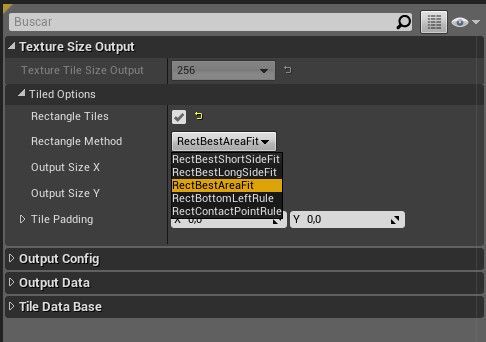
Rectangle Method: From a Dropdown of different methods you can set wath method is more convenient to you.
- **BestShortSideFit**: Positions the rectangle against the short side
of a free rectangle into which it fits the best.
- **BestLongSideFit**: Positions the rectangle against the long side
of a free rectangle into which it fits the best.
- **BestAreaFit**: Positions the rectangle into the smallest free
rect into which it fits.
- **BottomLeftRule**: Does the Tetris placement.
- **ContactPointRule**: Choosest the placement where the rectangle
touches other rects as much as possible.
The Tiles are BinPacked By Dimension starting from Bigger to Smallers
to allow a better allocation.
-
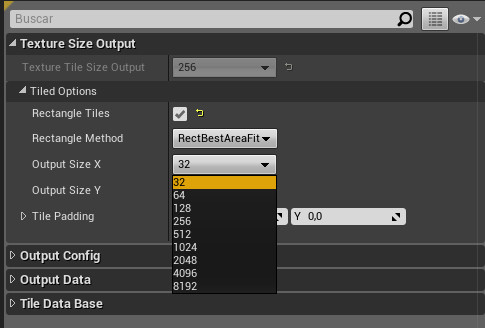
Output Size X: From a Dropdown selection you can set the Horizontal/Width Size of the Texture Output.
-
Output Size Y: From a Dropdown selection you can set the Vertical/Height Size of the Texture Output.
-
Tile Padding: Padding for every Tile on the Binpack, Some Tiles have artifacts with the neighboor Tile by the Texture filtering, Padding solves this giving space between the Tiles.
Output Config
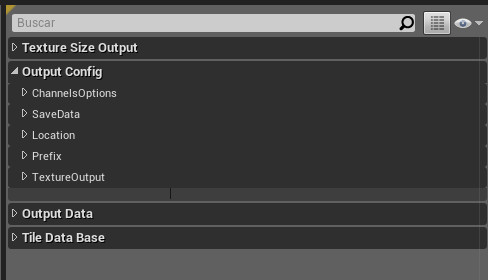
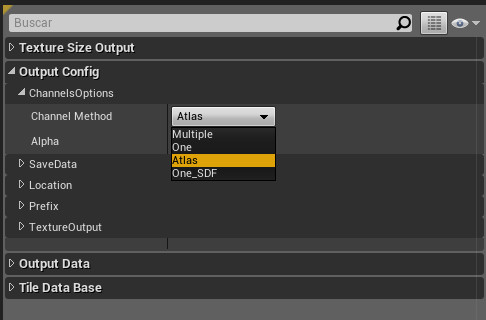
Channels Options
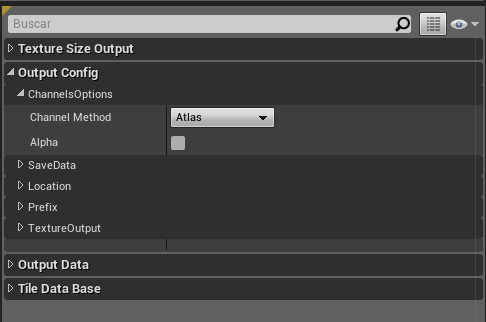
- Channel Method: From a Dropdown selection you can select the method to save the Tiles on the Output Texture. The Methods are explained here Basic Knowledge.
- Alpha: This Enables or Disables the Alpha Channel on the Output Texture.
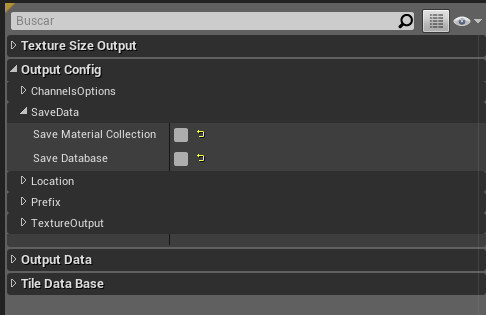
Save Data
This Subcategory manages the creation of the MultiPacker Database and Material Collection Assets from the Graph, you can deselect then and dont be created and saved. By default are enabled.
-
Save Material Collection: Enables the creation of the Material Collection Asset with the Data from the Graph.
-
Save Database: Enables the creation of the Database Asset with the Data from the Graph.
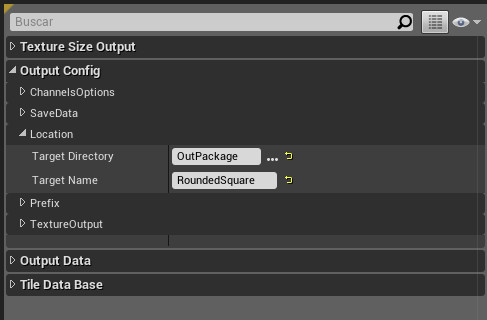
Location
Location has some variables to change the destination location where the Output Assets will be saved and the base name for all of them.
-
Target Directory: This variable will open a window where you will select the desired location to save the Assets.
-
Target Name: Variable to set the Base Name for all the Assets created by the Graph the Assets will differ with their prefix.
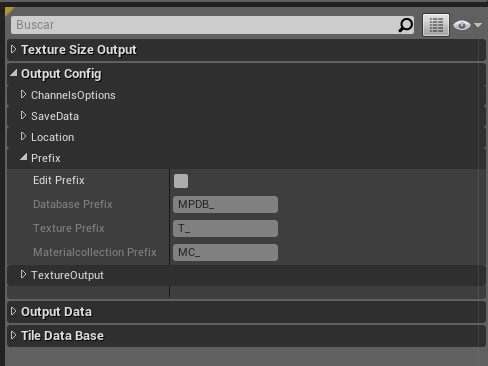
Prefix
This allows you to change the Prefix on the created Assets to mantain a constant Naming Convention on your project.
-
Edit Prefix: Enables change the Prefix.
-
Database Prefix: Change the Prefix for the MultiPacker Database Aseet.
-
Texture Prefix: Change the Prefix for the Output Texture Asset.
-
MaterialCollection Prefix: Change the Prefix for the Material Collection Asset.
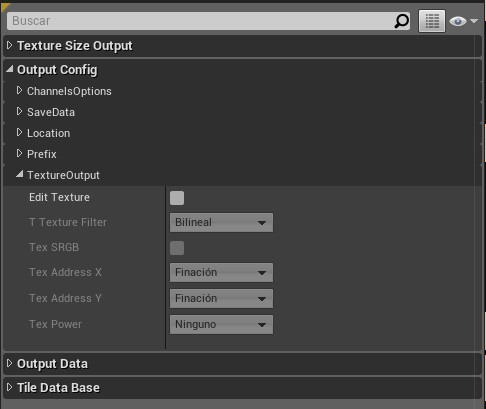
Texture Output
Here you can change the parameters for the Output Texture(s)
-
Edit Texture: Enables change parameters for the Texture(s).
-
Texture Filter: Filter to apply on the Output Texture. The Multiple Channel Method requires Nearest.
-
Tex SRGB: Enables the ussage of SRGB color. SDF, Multiple requires this disabled.
The Unreal Engine Explanation is:
Sets whether the Texture should be gamma (un)corrected or not.
Regular diffuse Textures and basically anything you use for
display as color values should have this set to true. It is
usually disabled for cases where the Texture color values
have a specific meaning and you rely on those values to be
that way as they were set, e.g. via code. Normal maps should
have this set to false as their color values are to be
interpreted as a direction and thus should not be gamma corrected.
-
Tex Address X: Sets the addressing mode of the Texture’s X axis.
-
Tex Address Y: Sets the addressing mode of the Texture’s Y axis.
-
Tex Power: Dropdown for how to pad the texture to a power of 2 size (if necessary).
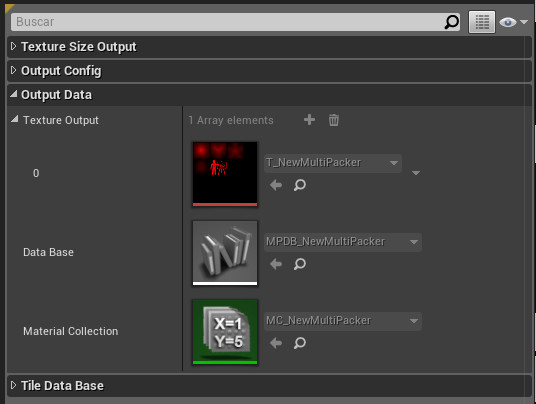
OutPut Data

Here will be the references to the Output Assets saved, you can expand the Texture Output to shoe the different Textures.
- Texture Output: Array who shows the Output Textures.
-
Database: Database Output saved.
-
Material Collection: Material Collection Output saved.
Tile Data Base
Here are showed some information about the Tiles, are more intended to debug an analize the result of the configuration of the Tiles than to change parameters.