MultiPacker Runtime Graph
Creating a New MultiPacker Runtime Graph
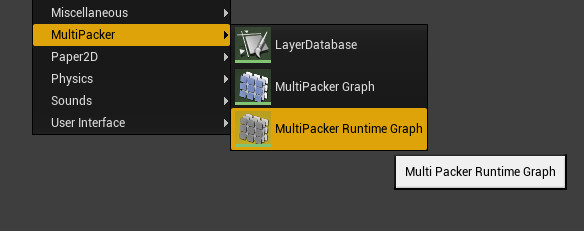
- Navigating to your Content Browser, click Add New and go to the MultiPacker category.
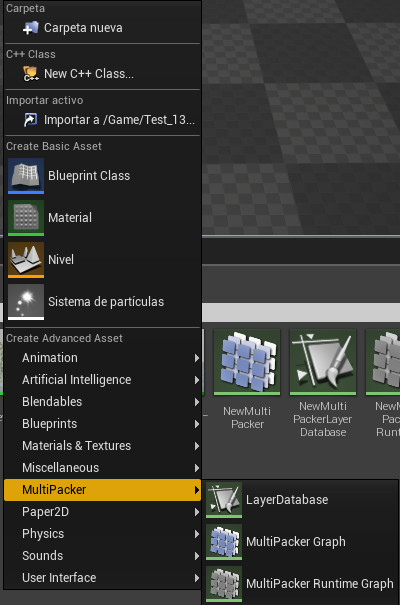
- Select MultiPacker Runtime Graph.
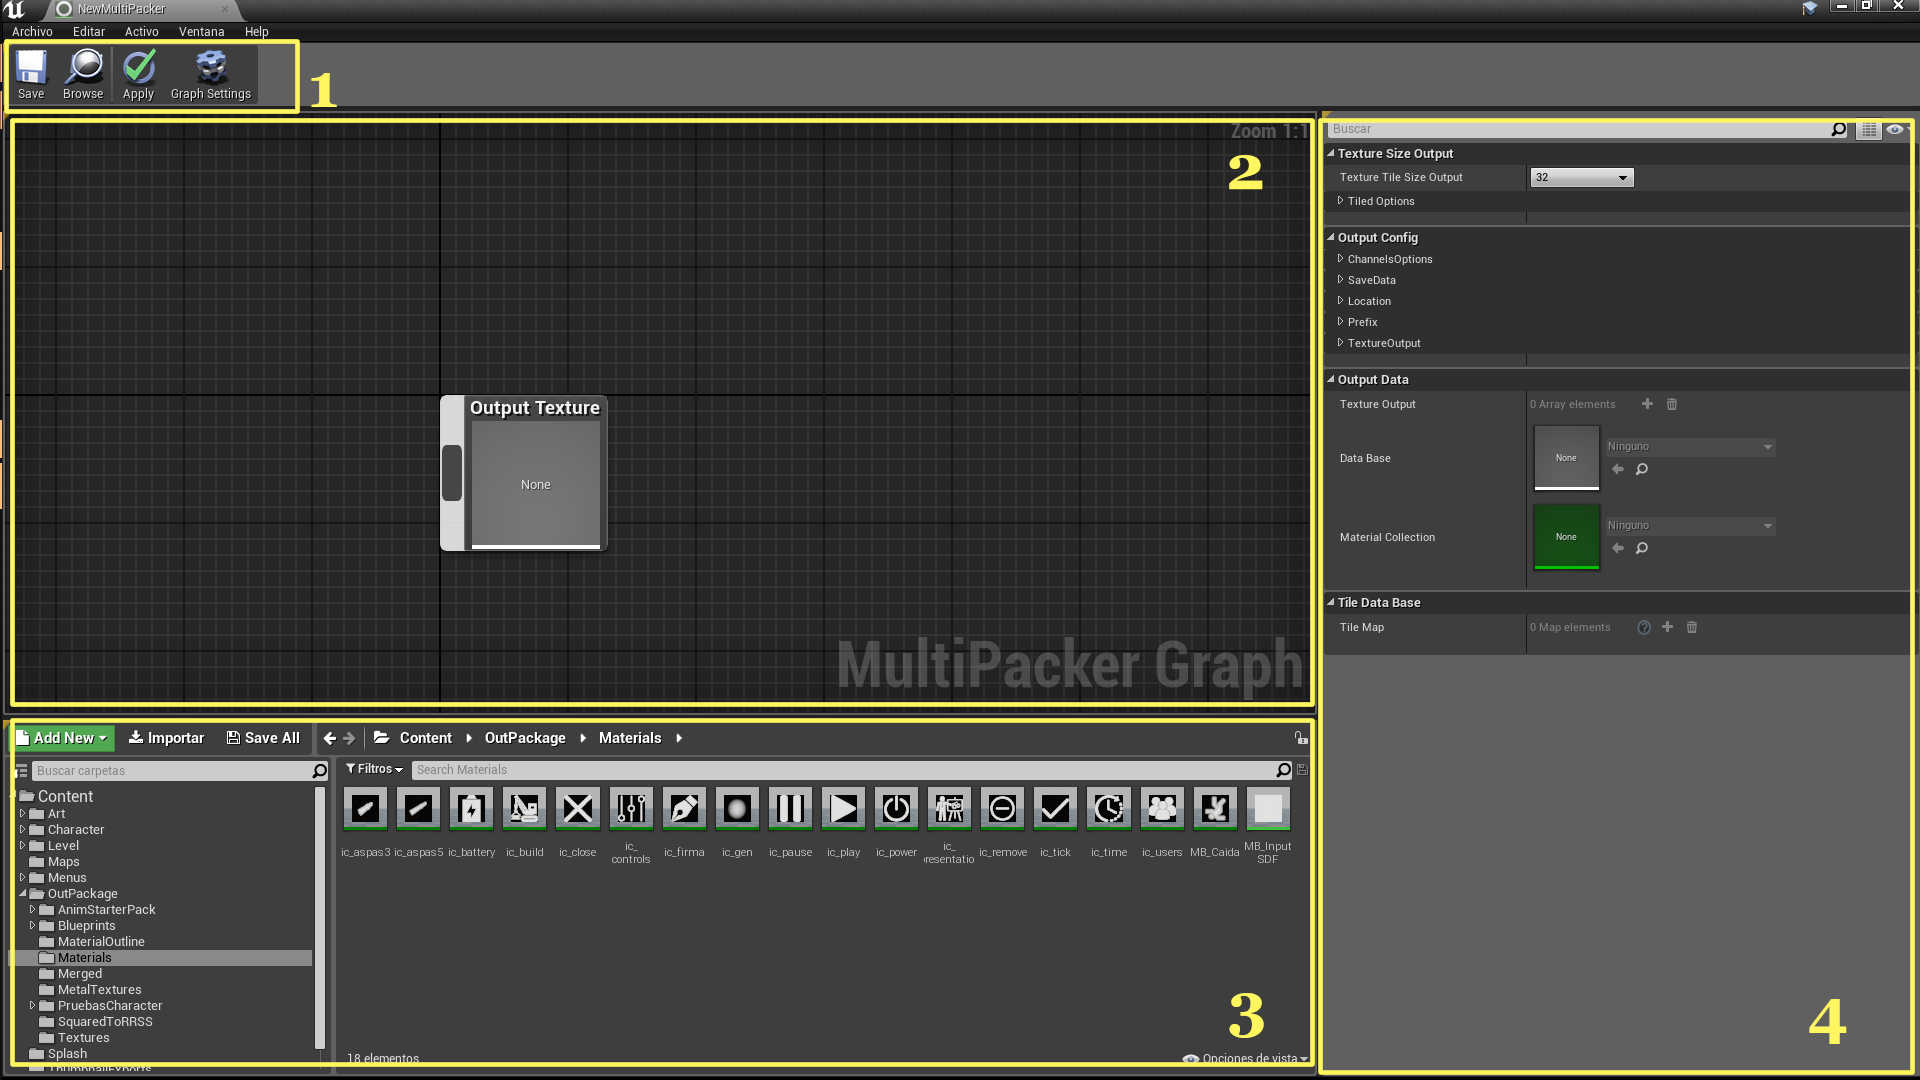
Editor Layout
The MultiPacker Graph looks and works like the Material Graph but with have some little differences.
-
Toolbar Menu
An explanation of the different buttons:
1.1. “Save” this saves the Graph
1.2. “Browse” Show on the Content Browser where is the MultiPacker Graph Asset.
1.3. “Apply” Process the Graph and update the Texture(s).
1.4. “Graph settings” show on the Details Panel the propertys of the graph.
-
Graph Nodes
Here you will have the Textures and Material Nodes to Process then and Make the Output Texture.
Texture Nodes have 6 pins to select manually the Channel where you like to extract the Texture Information, also on the Details Panel for the Texture Node you can set the PinOutput.
-
Content Browser
This is like a normal Content Browser from the Editor, you can drag and drop Textures and Materials to the Graph, You can drop a Selection at the same time.
-
Details Panel
On this Panel all the Information related to the Graph and the Nodes will show up, here you can change all the options.
Output Options
The MultiPacker Runtime Graph has some options to process the Input Assets.
I will explain all of these by Category and Subcategory

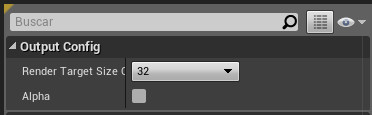
Output Config
On this Category you can select Parameters for the Output Render Target.
-
Render Target Size Output: The output Render Target will have this Size and the Materials Baked will be filled inside. This allows the Creation of diferent Render Targets with The Materials Baked in and Isolated.
-
Alpha: Boolean who activates the Alpha channel on the RenderTarget.
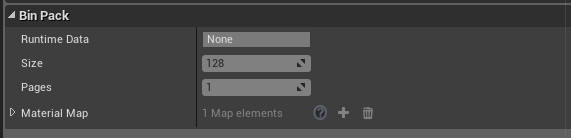
Bin Pack
Here are showed some information about the Tiles, are more intended to debug an analize the result of the configuration of the Tiles than to change parameters. The Information are esentially the same as the DatabaseName.